前言
前两章我们已经把Blog的环境全部搭建完毕了,但是还没有内容,而且hexo默认的主题是不是感觉挺丑的,其实hexo给我们提供了很多主题模板,总有一款是你喜欢的,本篇文章将继续说一说如何配置主题,怎么创建博文,写好后又如何发布,一起来看吧!
文章总览
Hexo主目录作用
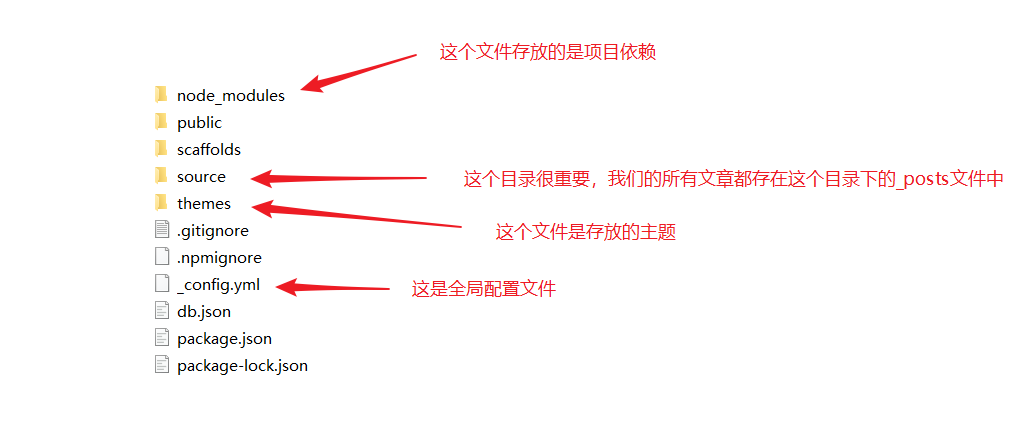
如图是我们myblog文件的主目录,由上往下文件的作用
- node_modules:是我们这个hexo整个项目的环境依赖,自动生成的,不用理会。
- public:存放的是整个项目的页面,样式,及逻辑代码。
- scaffolds:scaffolds是
脚手架的意思,当你新建一篇文章(hexo new page 'title')的时候,hexo是根据这个目录下的文件进行构建的。不用关心。 - source:这个目录很重要,新建的文章都是在保存在这个目录下的_posts 。_posts 目录下是一个个 markdown 文件。初始里面有一个 hello-world.md 的文件,文章就在这个文件中编辑。_posts 目录下的md文件,会被编译成html文件,放到 public 文件夹下。
- themes:是网站的主题目录,Hexo有很好的主题扩展能力,开源主题也很丰富,该目录下每一个子目录就是一个主题。
- _config.yml:全局配置文件,我们Blog站点的很多信息都是在这个文件中配置的,比如网站的名字,副标题,网站描述信息,作者等等。
- package.json:这个文件里我们可以看到hexo所依赖的插件。
接下来详细说一说
_config.yml文件的配置
1 | # Hexo Configuration |
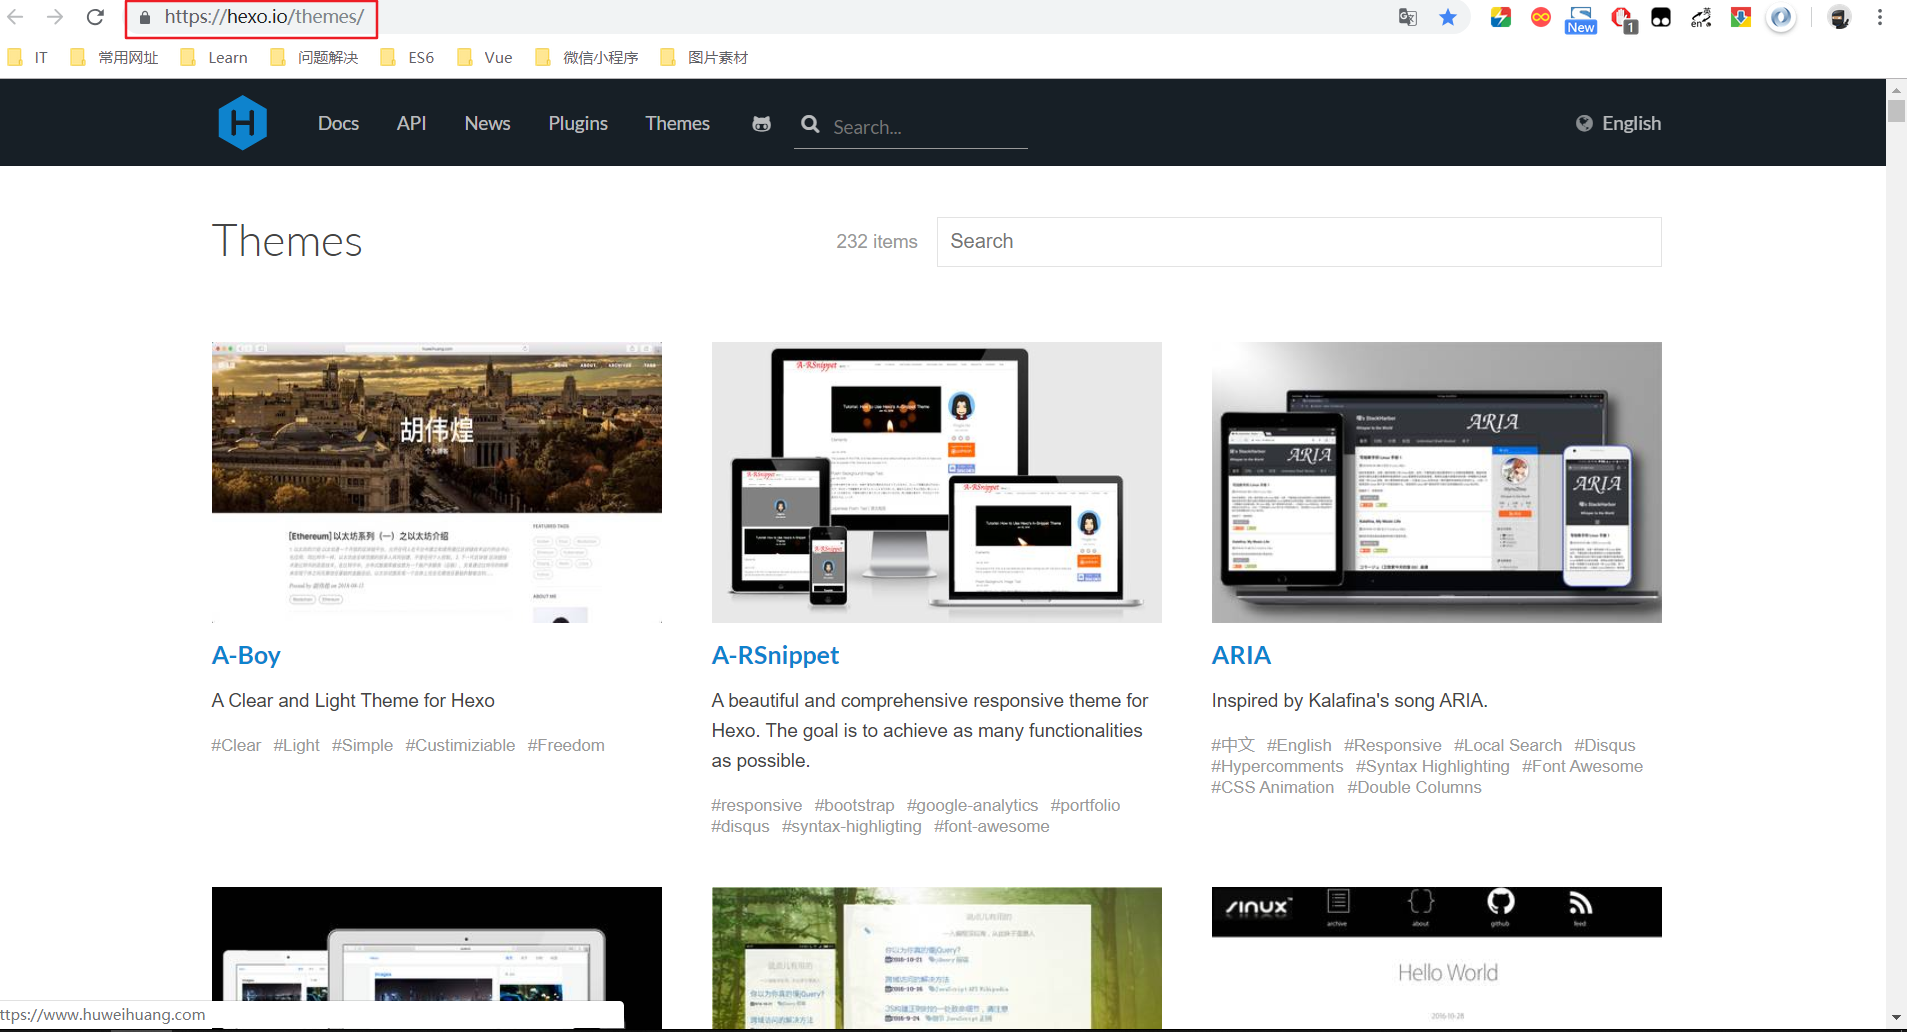
更换Next主题
本文介绍Next主题的配置用法,其他的主题用法大体步骤是类似的。
更多详情:点我了解更多
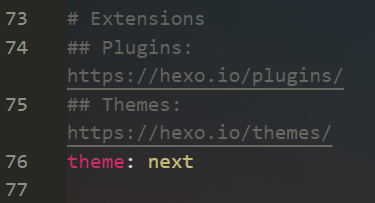
- 主题下载:进入到myblog文件目录下,打开powershell终端,键入命令:
git clone https://github.com/theme-next/hexo-theme-next themes / next下载完毕,我们打开themes文件夹,会发现多出一个next的文件夹。 - 应用主题:打开根myblog目录下的 _config.yml 文件,修改themes的值为 next 如图
- 预览:进入终端在根目录
myblog下依次键入如下命令:
hexo clean先清理一下hexo的缓存hexo s本地启动服务- 打开浏览器:在地址栏键入
http://localhost:4000预览,如图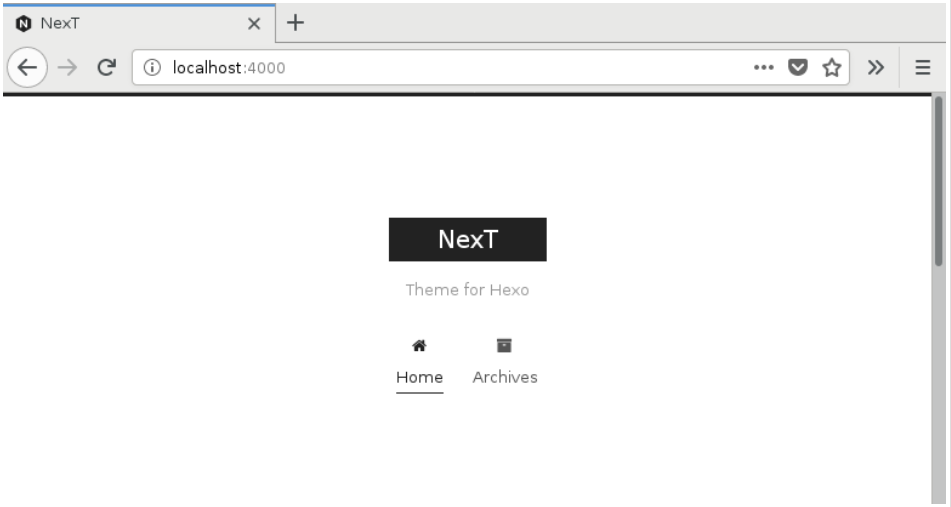
Next配置
next主题应用成功之后,也是需要友好的配置一下,打开themes文件夹下的next文件会看到也有一个 _config.yml 的文件,有了之前的经验,我们知道这个就是next主题的全局配置文件了
_config.yml配置
截取了一部分,这里基本上是需要配置的,其他的基本是默认,更多的配置,可看这篇教程点我查看更多炫酷设置1
2
3
4
5
6
7
8
9
10
11
12
13
14
15
16
17
18
19
20
21
22
23
24
25
26
27
28
29
30
31
32
33
34
35
36
37
38
39
40
41
42
43
44
45
46
47
48
49
50
51
52
53
54
55
56
57
58
59
60
61
62
63
64
65
66
67
68
69
70
71
72
73
74
75
76
77
78
79
80
81
82
83
84
85
86
87
88
89
90
91
92
93
94
95
96
97
98
99
100
101
102
103
104
105
106
107
108
109
110
111
112
113
114
115
116
117
118
119
120
121
122
123
124
125
126
127
128
129
130
131
132
133
134
135
136
137
138
139
140
141
142
143
144
145
146
147
148
149
150
151
152
153
154
155
156
157
158
159
160
161
162
163
164
165
166
167
168
169
170
171
172
173
174
175
176
177
178
179
180
181
182
183
184
185
186
187
188
189
190
191
192
193
194
195
196
197
198
199
200
201
202
203
204
205
206
207
208
209
210
211
212
213
214
215
216
217
218
219
220
221
222
223
224
225
226
227
228
229
230
231
232
233
234
235
236
237
238
239
240
241
242
243
244
245
246
247
248
249
250
251
252
253
254
255
256
257
258
259
260
261
262favicon: # 这里配置站点的站标
# small: /images/favicon-16x16-next.png
medium: /images/favicon-16x16-next.png
apple_touch_icon: /images/apple-touch-icon-next.png
safari_pinned_tab: /images/logo.svg
#android_manifest: /images/manifest.json
#ms_browserconfig: /images/browserconfig.xml
# Set default keywords (Use a comma to separate)
keywords: # 这里放置站点的关键字 "前端, HTML, CSS, javascript, Vue.js, Node.js, MySQL, 微信小程序"
# Set rss to false to disable feed link.
# Leave rss as empty to use site's feed link.
# Set rss to specific value if you have burned your feed already.
rss:
footer: # 网站的页脚设置
# Specify the date when the site was setup.
# If not defined, current year will be used.
since: # 网站的开始运行时间 比如设置2017 则网站底部显示 2017-2018
# Icon between year and copyright info.
icon: user
# If not defined, will be used `author` from Hexo main config.
# copyright:
# -------------------------------------------------------------
# Hexo link (Powered by Hexo).
# powered: true
# theme:
# Theme & scheme info link (Theme - NexT.scheme).
# enable: false
# Version info of NexT after scheme info (vX.X.X).
# version false
# -------------------------------------------------------------
# Any custom text can be defined here.
#custom_text: Hosted by <a target="_blank" href="https://pages.github.com">GitHub Pages</a>
# ---------------------------------------------------------------
# SEO Settings
# ---------------------------------------------------------------
# Canonical, set a canonical link tag in your hexo, you could use it for your SEO of blog.
# See: https://support.google.com/webmasters/answer/139066
# Tips: Before you open this tag, remember set up your URL in hexo _config.yml ( ex. url: http://yourdomain.com )
canonical: true
# Change headers hierarchy on site-subtitle (will be main site description) and on all post/pages titles for better SEO-optimization.
seo: false
# If true, will add site-subtitle to index page, added in main hexo config.
# subtitle: Subtitle
index_with_subtitle: false
# ---------------------------------------------------------------
# Menu Settings
# ---------------------------------------------------------------
# When running the site in a subdirectory (e.g. domain.tld/blog), remove the leading slash from link value (/archives -> archives).
# Usage: `Key: /link/ || icon`
# Key is the name of menu item. If translate for this menu will find in languages - this translate will be loaded; if not - Key name will be used. Key is case-senstive.
# Value before `||` delimeter is the target link.
# Value after `||` delimeter is the name of FontAwesome icon. If icon (with or without delimeter) is not specified, question icon will be loaded.
menu: # 菜单路径 注意:下边的 || 不能去掉 后边表示的是 对应的图标
home: / || home # 表示主页
tags: /tags/ || tags # 表示标签
categories: /categories/ || th # 表示分类
archives: /archives/ || archive #表示归档
about: /about/ || user 表示关于我
life: /life/ || heart
#schedule: /schedule/ || calendar
#sitemap: /sitemap.xml || sitemap
#commonweal: /404/ || heartbeat # 公益活动
# Enable/Disable menu icons.
menu_icons: # 这里是图标设置 和上边的 || 后面的一致
enable: true
home: home
tags: tags
categories: th
archives: archive
about: user
life: heart
# ---------------------------------------------------------------
# Scheme Settings 这里是next主题的样式排版设置
# ---------------------------------------------------------------
# Schemes next给提供了如下四个页面布局方式 只能选择其中的一个使用,具体样式,可自己动手试试,我这里选择的是Mist
# scheme: Muse
scheme: Mist
# scheme: Pisces
# scheme: Gemini
# ---------------------------------------------------------------
# Sidebar Settings 社交设置
# ---------------------------------------------------------------
# Social Links.
# Usage: `Key: permalink || icon`
# Key is the link label showing to end users.
# Value before `||` delimeter is the target permalink.
# Value after `||` delimeter is the name of FontAwesome icon. If icon (with or without delimeter) is not specified, globe icon will be loaded.
social: # 自己的社交链接 比如这里我设置了 Github 和 邮箱,下面还可以设置 微博之类的 自己动手设置试试
GitHub: https://github.com/RoseSnow || github
E-Mail: number_nine@126.com || envelope
#Google: https://plus.google.com/yourname || google
#Twitter: https://twitter.com/yourname || twitter
#FB Page: https://www.facebook.com/yourname || facebook
#VK Group: https://vk.com/yourname || vk
#StackOverflow: https://stackoverflow.com/yourname || stack-overflow
#YouTube: https://youtube.com/yourname || youtube
#Instagram: https://instagram.com/yourname || instagram
#Skype: skype:yourname?call|chat || skype
social_icons: # 这里是设置上面社交链接 的对应图标的 对应的设为 true 即可
enable: true
Github: github
icons_only: false
transition: false
# Blog rolls # 这里是设置一些相关链接 我这里设置了一些推荐阅读的网站,可自行设置
links_icon: link
links_title: 推荐阅读
# links_layout: block
links_layout: inline
links:
w3school: http://www.w3school.com.cn/
菜鸟教程: http://www.runoob.com/
廖雪峰官网: https://www.liaoxuefeng.com/
# Sidebar Avatar
# in theme directory(source/images): /images/avatar.gif
# in site directory(source/uploads): /uploads/avatar.gif
avatar: /images/avatar.jpg # 这里设置自己的头像
# Table Of Contents in the Sidebar # 文章自动显示的目录
toc:
enable: true
# Automatically add list number to toc. 文章是否显示序号,显示则设置为true
number: false
# If true, all words will placed on next lines if header width longer then sidebar width.
wrap: false
# Creative Commons 4.0 International License.
# http://creativecommons.org/
# Available: by | by-nc | by-nc-nd | by-nc-sa | by-nd | by-sa | zero
#creative_commons: by-nc-sa
#creative_commons:
sidebar:
# Sidebar Position, available value: left | right (only for Pisces | Gemini).
position: left
#position: right
# Sidebar Display, available value (only for Muse | Mist):
# - post expand on posts automatically. Default.
# - always expand for all pages automatically
# - hide expand only when click on the sidebar toggle icon.
# - remove Totally remove sidebar including sidebar toggle.
display: post
#display: always
#display: hide
#display: remove
# Sidebar offset from top menubar in pixels (only for Pisces | Gemini).
offset: 12
# Back to top in sidebar (only for Pisces | Gemini).
b2t: false
# Scroll percent label in b2t button.
scrollpercent: false
# Enable sidebar on narrow view (only for Muse | Mist).
onmobile: false
# ---------------------------------------------------------------
# Post Settings
# ---------------------------------------------------------------
# Automatically scroll page to section which is under <!-- more --> mark.
scroll_to_more: true
# Automatically saving scroll position on each post/page in cookies.
save_scroll: false
# Automatically excerpt description in homepage as preamble text.
excerpt_description: true
# Automatically Excerpt. Not recommend.
# Please use <!-- more --> in the post to control excerpt accurately.
auto_excerpt:
enable: true
length: 120
# Post meta display settings
post_meta:
item_text: true
created_at: true
updated_at: false
categories: true
# Post wordcount display settings
# Dependencies: https://github.com/willin/hexo-wordcount
post_wordcount:
item_text: true
wordcount: true
min2read: true
totalcount: true
separated_meta: true
# Wechat Subscriber 设置微信添加方式
wechat_subscriber:
enabled: true
qcode: /images/mywechat.jpg
description: 扫一扫添加微信好友
# Reward # 设置打赏方式
reward_comment: 如果觉得文章不错,请我吃根辣条吧~~
wechatpay: /images/wxpay.png
alipay: /images/alipay.png
# bitcoin: /images/bitcoin.png
# Declare license on posts
post_copyright:
enable: false
license: CC BY-NC-SA 3.0
license_url: https://creativecommons.org/licenses/by-nc-sa/3.0/
# ---------------------------------------------------------------
# Misc Theme Settings
# ---------------------------------------------------------------
# Reduce padding / margin indents on devices with narrow width.
mobile_layout_economy: false
# Android Chrome header panel color ($black-deep).
android_chrome_color: "#222"
# Custom Logo.
# !!Only available for Default Scheme currently.
# Options:
# enabled: [true/false] - Replace with specific image
# image: url-of-image - Images's url
custom_logo:
enabled: false
image:
# Code Highlight theme
# Available value:
# normal | night | night eighties | night blue | night bright
# https://github.com/chriskempson/tomorrow-theme
highlight_theme: night eighties
创建其他页面
首页和归档是默认存在的,不需要我们自己创建,但是其他的几个诸如分类,标签,关于是要我们自己创建的
如图
创建分类:终端myblog根目录下键入命令
hexo new page categories之后我们进入myblog/source目录下发现多出一个名为categories的文件夹, 打开categories下的index.md,可以看到是这样的 如图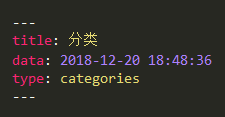
标签页面和关于页面的创建方法都是和分类的一样,重复上一步即可。
创建第一篇博文
我们一直在配置环境,还没有真正动手写博客,下面我们来创建第一篇博客。
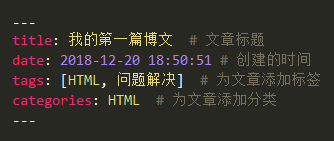
- 仍然是用new命令创建:在终端myblog下键入命令
hexo new page "文章标题" - 打开source文件夹下的_posts文件,就可以看到我们刚刚创建的 “文章名称”.md的 文件,用编辑器打开,就可以编写内容了,其中文章可以设置分类和标签,如图
提交到远程服务
下面把我们的博客提交一下,上一篇我们已经把Blog部署到了GitHub上,所以可以提交到github服务器上。
hexo clean注意:每次提交前建议都执行一下该命令,清除一下hexo g生成本地静态文件hexo s启动本地服务,在本地预览hexo d本地预览无误后,提交到远仓
下面我们再打开网址 https://rosesnow.github.io (此处更换你自己的io地址)就可以访问我们刚刚创建的博文了
总结
经过这三篇文章,我们已经从0到1搭建起了自己的Blog,想让Blog更个性化,可以参考点我查看更多炫酷设置,接下来还有一篇会写一下怎么绑定个人的域名。