原生js实现轮播图

前言

在很多场景都需要轮播图效果,虽然有很多前端UI框架都提供了轮播图插件,方便简单,但是在初学js时还是要自己动手写的,本文简述用原生js如何实现轮播图效果


首先看一下效果图

鼠标放上去显示左右切换按钮,点击实现左右图片的切换,下方数字随着图片的切换而变化,鼠标悬浮在图片上,图片停止切换
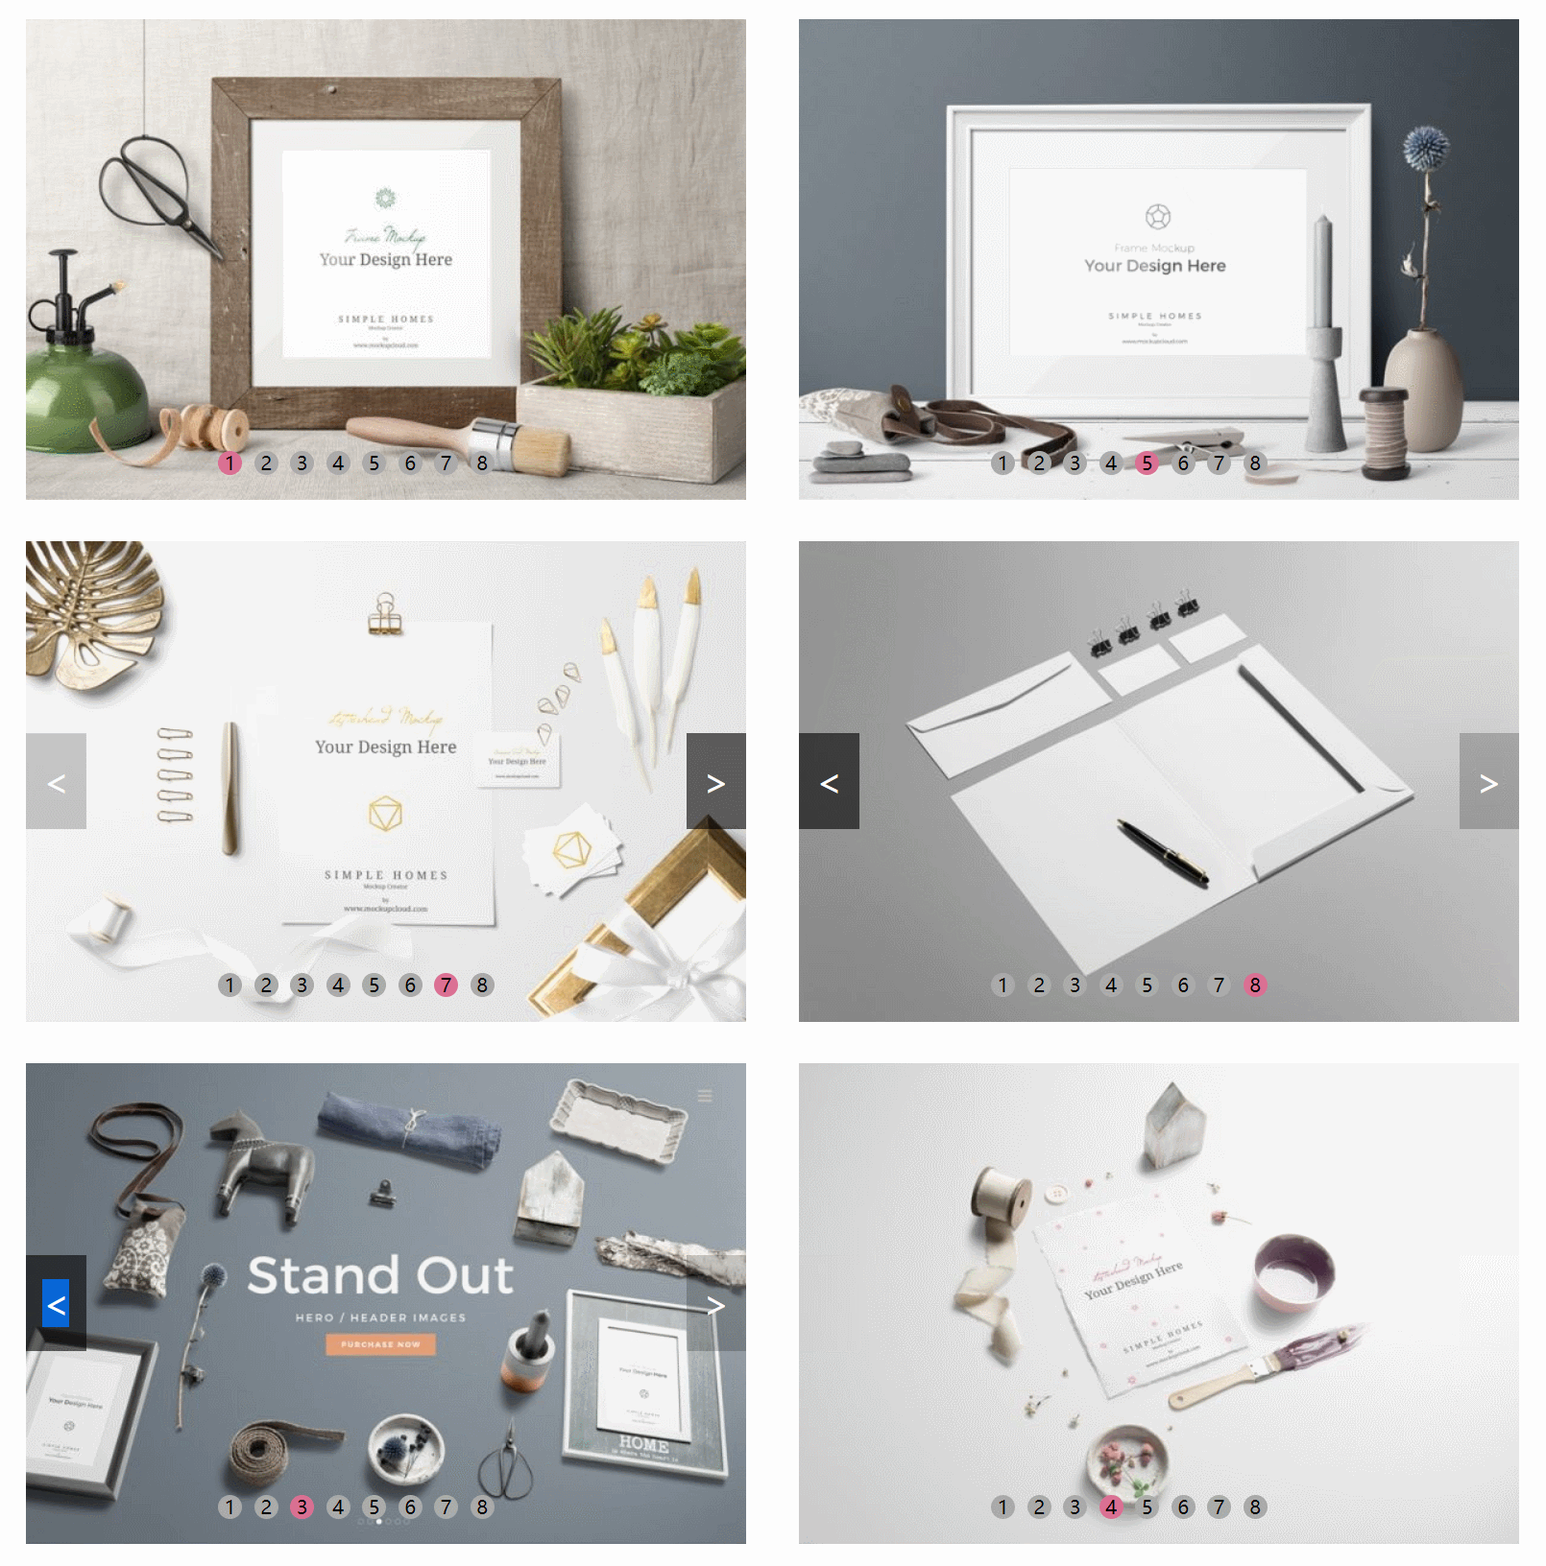
Loding...

下面是代码实现

HTML部分

1
2
3
4
5
6
7
8
9
10
11
12
13
14
15
16
17
18
19
20
21
22
23
24
25
26
27
<!DOCTYPE html>
<html>
<head>
<meta charset="utf-8" />
<title>轮播图</title>
<link rel="stylesheet" type="text/css" href="css/style.css"/>
</head>
<body>
<div id="box">
<img src="img/1.jpg" id="pic"/>
<ul id="list">
<li>1</li>
<li>2</li>
<li>3</li>
<li>4</li>
<li>5</li>
<li>6</li>
<li>7</li>
<li>8</li>
</ul>
<div id="left" class="bt"><</div>
<div id="right" class="bt">></div>
</div>

</body>
<script src="js/loop.js" type="text/javascript" charset="utf-8"></script>
</html>

CSS部分

1
2
3
4
5
6
7
8
9
10
11
12
13
14
15
16
17
18
19
20
21
22
23
24
25
26
27
28
29
30
31
32
33
34
35
36
37
38
39
40
41
42
43
44
45
46
47
48
*{
padding: 0;
margin: 0;
}

#box{
width: 600px;
height: 400px;
margin: auto;
position: relative;
top: 60px;
}

.bt{
width: 50px;
height: 80px;
background-color: rgba(0,0,0,0.2);
color: #fff;
font-size: 30px;
line-height: 80px;
text-align: center;
position: absolute;
top: 160px;
display: none;
}
#left{
left: 0;
}
#right{
right: 0;
}

#list{
list-style: none;
position: absolute;
bottom: 20px;
left: 150px;
}
#list li{
float: left;
width: 20px;
height: 20px;
background-color: #aaa;
border-radius: 50%;
line-height: 20px;
margin-left: 10px;
text-align: center;
}

JS部分

1
2
3
4
5
6
7
8
9
10
11
12
13
14
15
16
17
18
19
20
21
22
23
24
25
26
27
28
29
30
31
32
33
34
35
36
37
38
39
40
41
42
43
44
45
46
47
48
49
50
51
52
53
54
55
56
57
58
59
60
61
62
63
64
65
66
67
68
69
70
71
72
73
74
75
76
77
78
79
80
81
82
const jsPic = document.getElementById("pic")
const jsLeft = document.getElementById("left")
const jsRight = document.getElementById("right")
const jsLisArr = document.getElementsByTagName("li")
const jsBox = document.getElementById("box")

//第一个li设置为红色
jsLisArr[0].style.backgroundColor = "palevioletred"

//启动一个定时器去更换jsPic中的src属性
var currentPage = 1
var timer = setInterval(startLoop,1500)
function startLoop(){
currentPage++
changePage()
}
function changePage(){
if (currentPage == 9){
currentPage = 1
}else if (currentPage == 0){
currentPage = 8
}
jsPic.src = "img/" + currentPage + ".jpg"

//清空所有小圆点的颜色
for (var i = 0; i < jsLisArr.length; i++){
jsLisArr[i].style.backgroundColor = "#aaa"

}
jsLisArr[currentPage - 1].style.backgroundColor = "palevioletred"
}

//鼠标进入box
jsBox.addEventListener("mouseover", overFunc, false)
function overFunc(){
//停止定时器
clearInterval(timer)
//显示左右按钮
jsLeft.style.display = "block"
jsRight.style.display = "block"
}
//鼠标离开box
jsBox.addEventListener("mouseout", outFunc, false)
function outFunc(){
//重启定时器
timer = setInterval(startLoop,1500)
//隐藏左右按钮
jsLeft.style.display = "none"
jsRight.style.display = "none"
}

//鼠标移动到左右按钮颜色加深
jsLeft.addEventListener("mouseover", deep, false)
jsRight.addEventListener("mouseover", deep, false)
function deep(){
this.style.backgroundColor = "rgba(0,0,0,0.6)"
}
//鼠标移动到左右按钮颜色回原
jsLeft.addEventListener("mouseout", undertint, false)
jsRight.addEventListener("mouseout", undertint, false)
function undertint(){
this.style.backgroundColor = "rgba(0,0,0,0.2)"
}

//鼠标点击左右按钮
jsRight.addEventListener("click", function(){
currentPage++
changePage()
}, false)
jsLeft.addEventListener("click", function(){
currentPage--
changePage()
}, false)

//鼠标进出小圆点
for (var i = 0; i < jsLisArr.length; i++){
jsLisArr[i].index = i + 1
jsLisArr[i].addEventListener("mouseover", function(){
currentPage = parseInt(this.index)
changePage()
}, false)
}

总结

这也是之前写的了,原生写轮播基本不用了,有很多前端框架很友好的给我们封装好了一些常用的插件,拿来用就可以了,写在这里,方便回忆,代码我又验证了一遍,没有问题,如果有不对的地方,请积极指正。

如果觉得文章不错,请我吃根辣条吧~~